
Preparing for Your Photoshoot
Photoshoots can be nerve-wracking! Let’s review what you’re investing in and certain steps to ensure you’re as comfortable as possible before stepping out in front of the camera.
What’s included…
Each photography package includes the same treatment at no additional cost. It’s important you feel your investment was worth it without having hidden fees (i.e. retouching or distribution) sneak up to ruin your experience. It’s also crucial for me to have the final product be great to highlight for others. Any other costs will be clearly outlined in an estimate provided to you before we move forward.
Click on the various features below to read more about what you’re investing in…

-
All photography packages include skin retouching. What separates this service from others is ensuring you don’t look unnatural. Everyone has unique features and it’s a firm belief that hiding those features in favor of looking like a “plastic doll” won’t fool anyone. The best aspects of you are preserved over minor blemishes and other marks or items in the shot you want to remove. It’s that simple and you’ll still look your best, like YOU!
-
Equally important to producing pictures you can be satisfied with is ensuring your photos are of the highest possible quality for showing off online and in print. That’s why I capture, edit, and distribute your photos with industry leading tools including the Canon R5, Adobe Photo software, Pass Gallery, and Google Drive.

-
For as long as I’m in business, you are guaranteed Lifetime Archival of your photos. Even if I choose to move on to something else, chances are I’ll still have your photos stored away somewhere in case you lose a copy. Point being, if you lose them, just reach out to get a new copy at no additional cost. It’s that convenient!
-
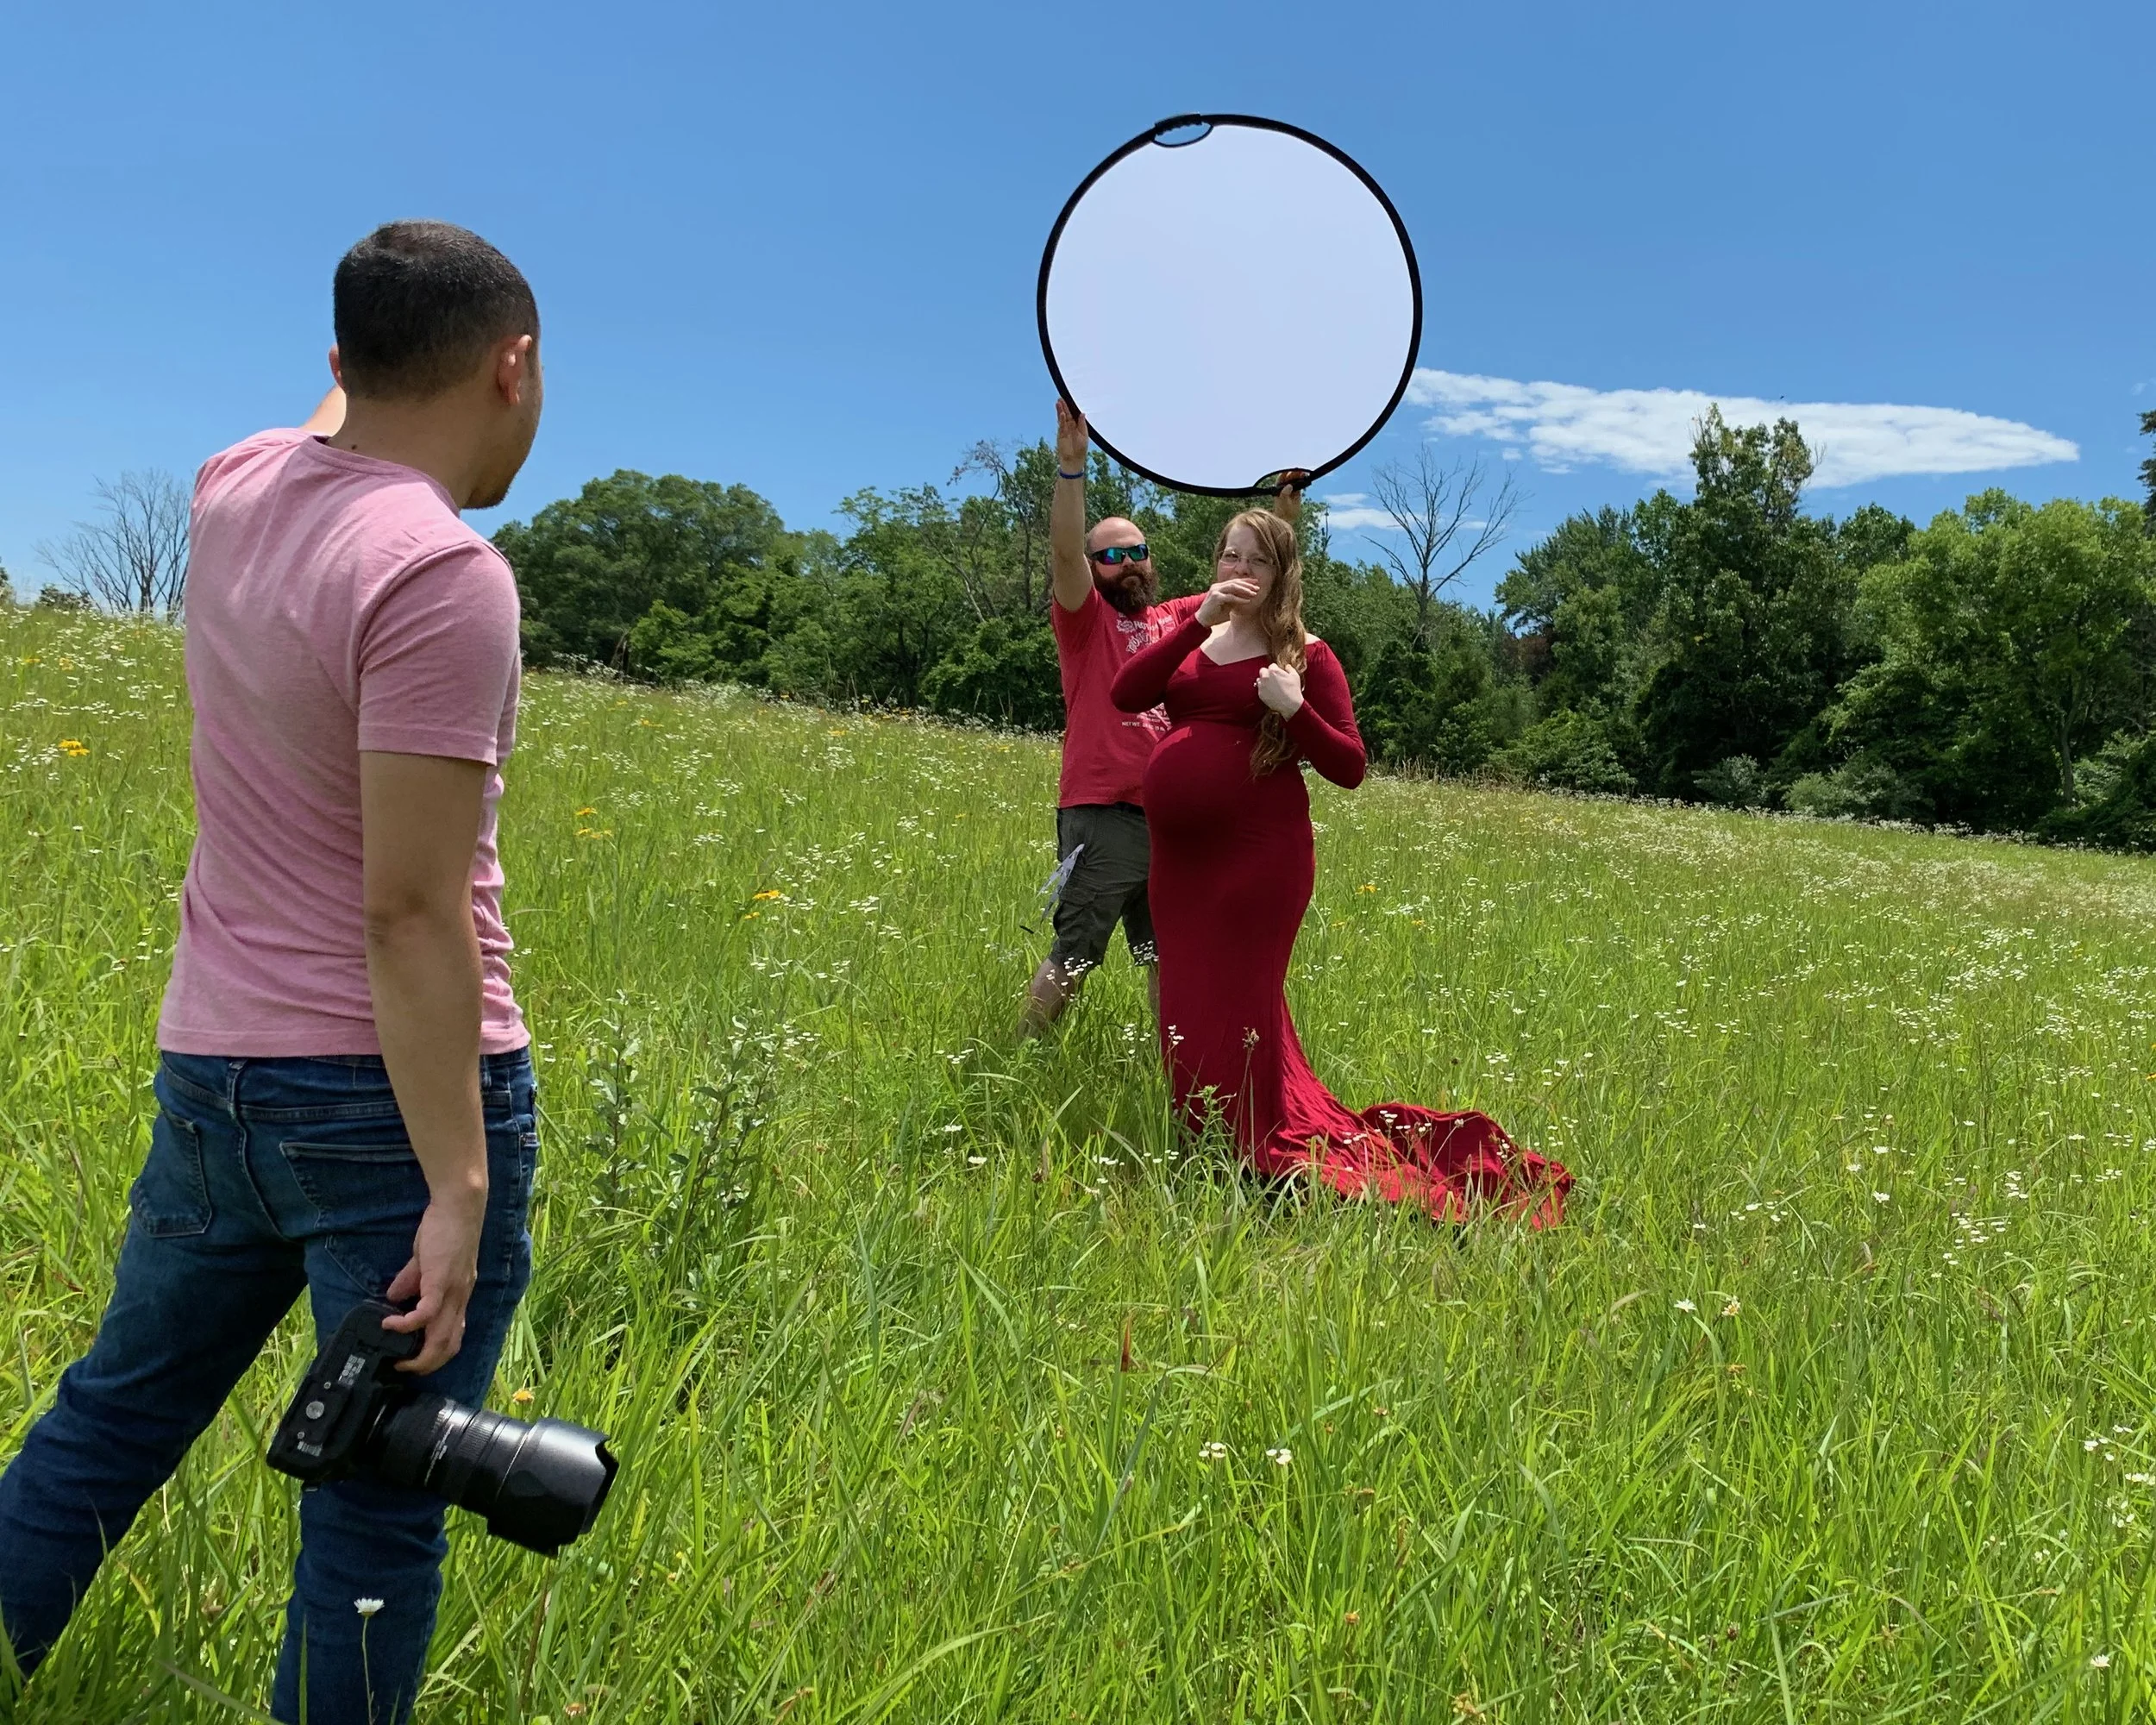
Being based out of the DC Metro area gives me access to great spots in Virginia, Maryland, and Washington D.C within a 30 mile radius to meet you for an outdoor shoot at no additional cost.
Also, there is no additional cost for traveling to an indoor location.
Tips to Ensure A Smooth Production
-
Be true to yourself! Unless the photo session involves heavy, stylized makeup, avoid makeup that creates a significant difference in skin tones between your face and the rest of your body. Try using professional foundation or concealer that WON’T cover every pore. Avoid “cakey” foundation or using too much of it.
-
Should you feel uncomfortable wearing makeup, it’s important to stay hydrated before and during your photoshoot. Water rejuvenates the skin and helps your lips retain a natural pinkish hue. If you have areas of your skin like dark circles around your eyes and can’t cover them with makeup, they can be removed digitally at your request.
-
I come prepared with flossers and a little mirror to help make sure you’re ready for your closeup! Please be sure to either brush before your shoot if you’ve had something to eat or hold off on eating until after your shoot.
-
Wear clothes that you feel comfortable in. Avoid oversized materials, unless it’s part of the style you’re going for. Be mindful of any jewelry or accessories. You will be asked to remove phones/wallets/keys from your pockets and given the option to remove or keep any accessories you’re wearing before we capture photos. Unless it’s company related, avoid brand logos on your clothes. Your investment includes digital touchups to remove any items you decide to remove AFTER the shoot. However, seamless removal of accessories and logos in post is not guaranteed.
-
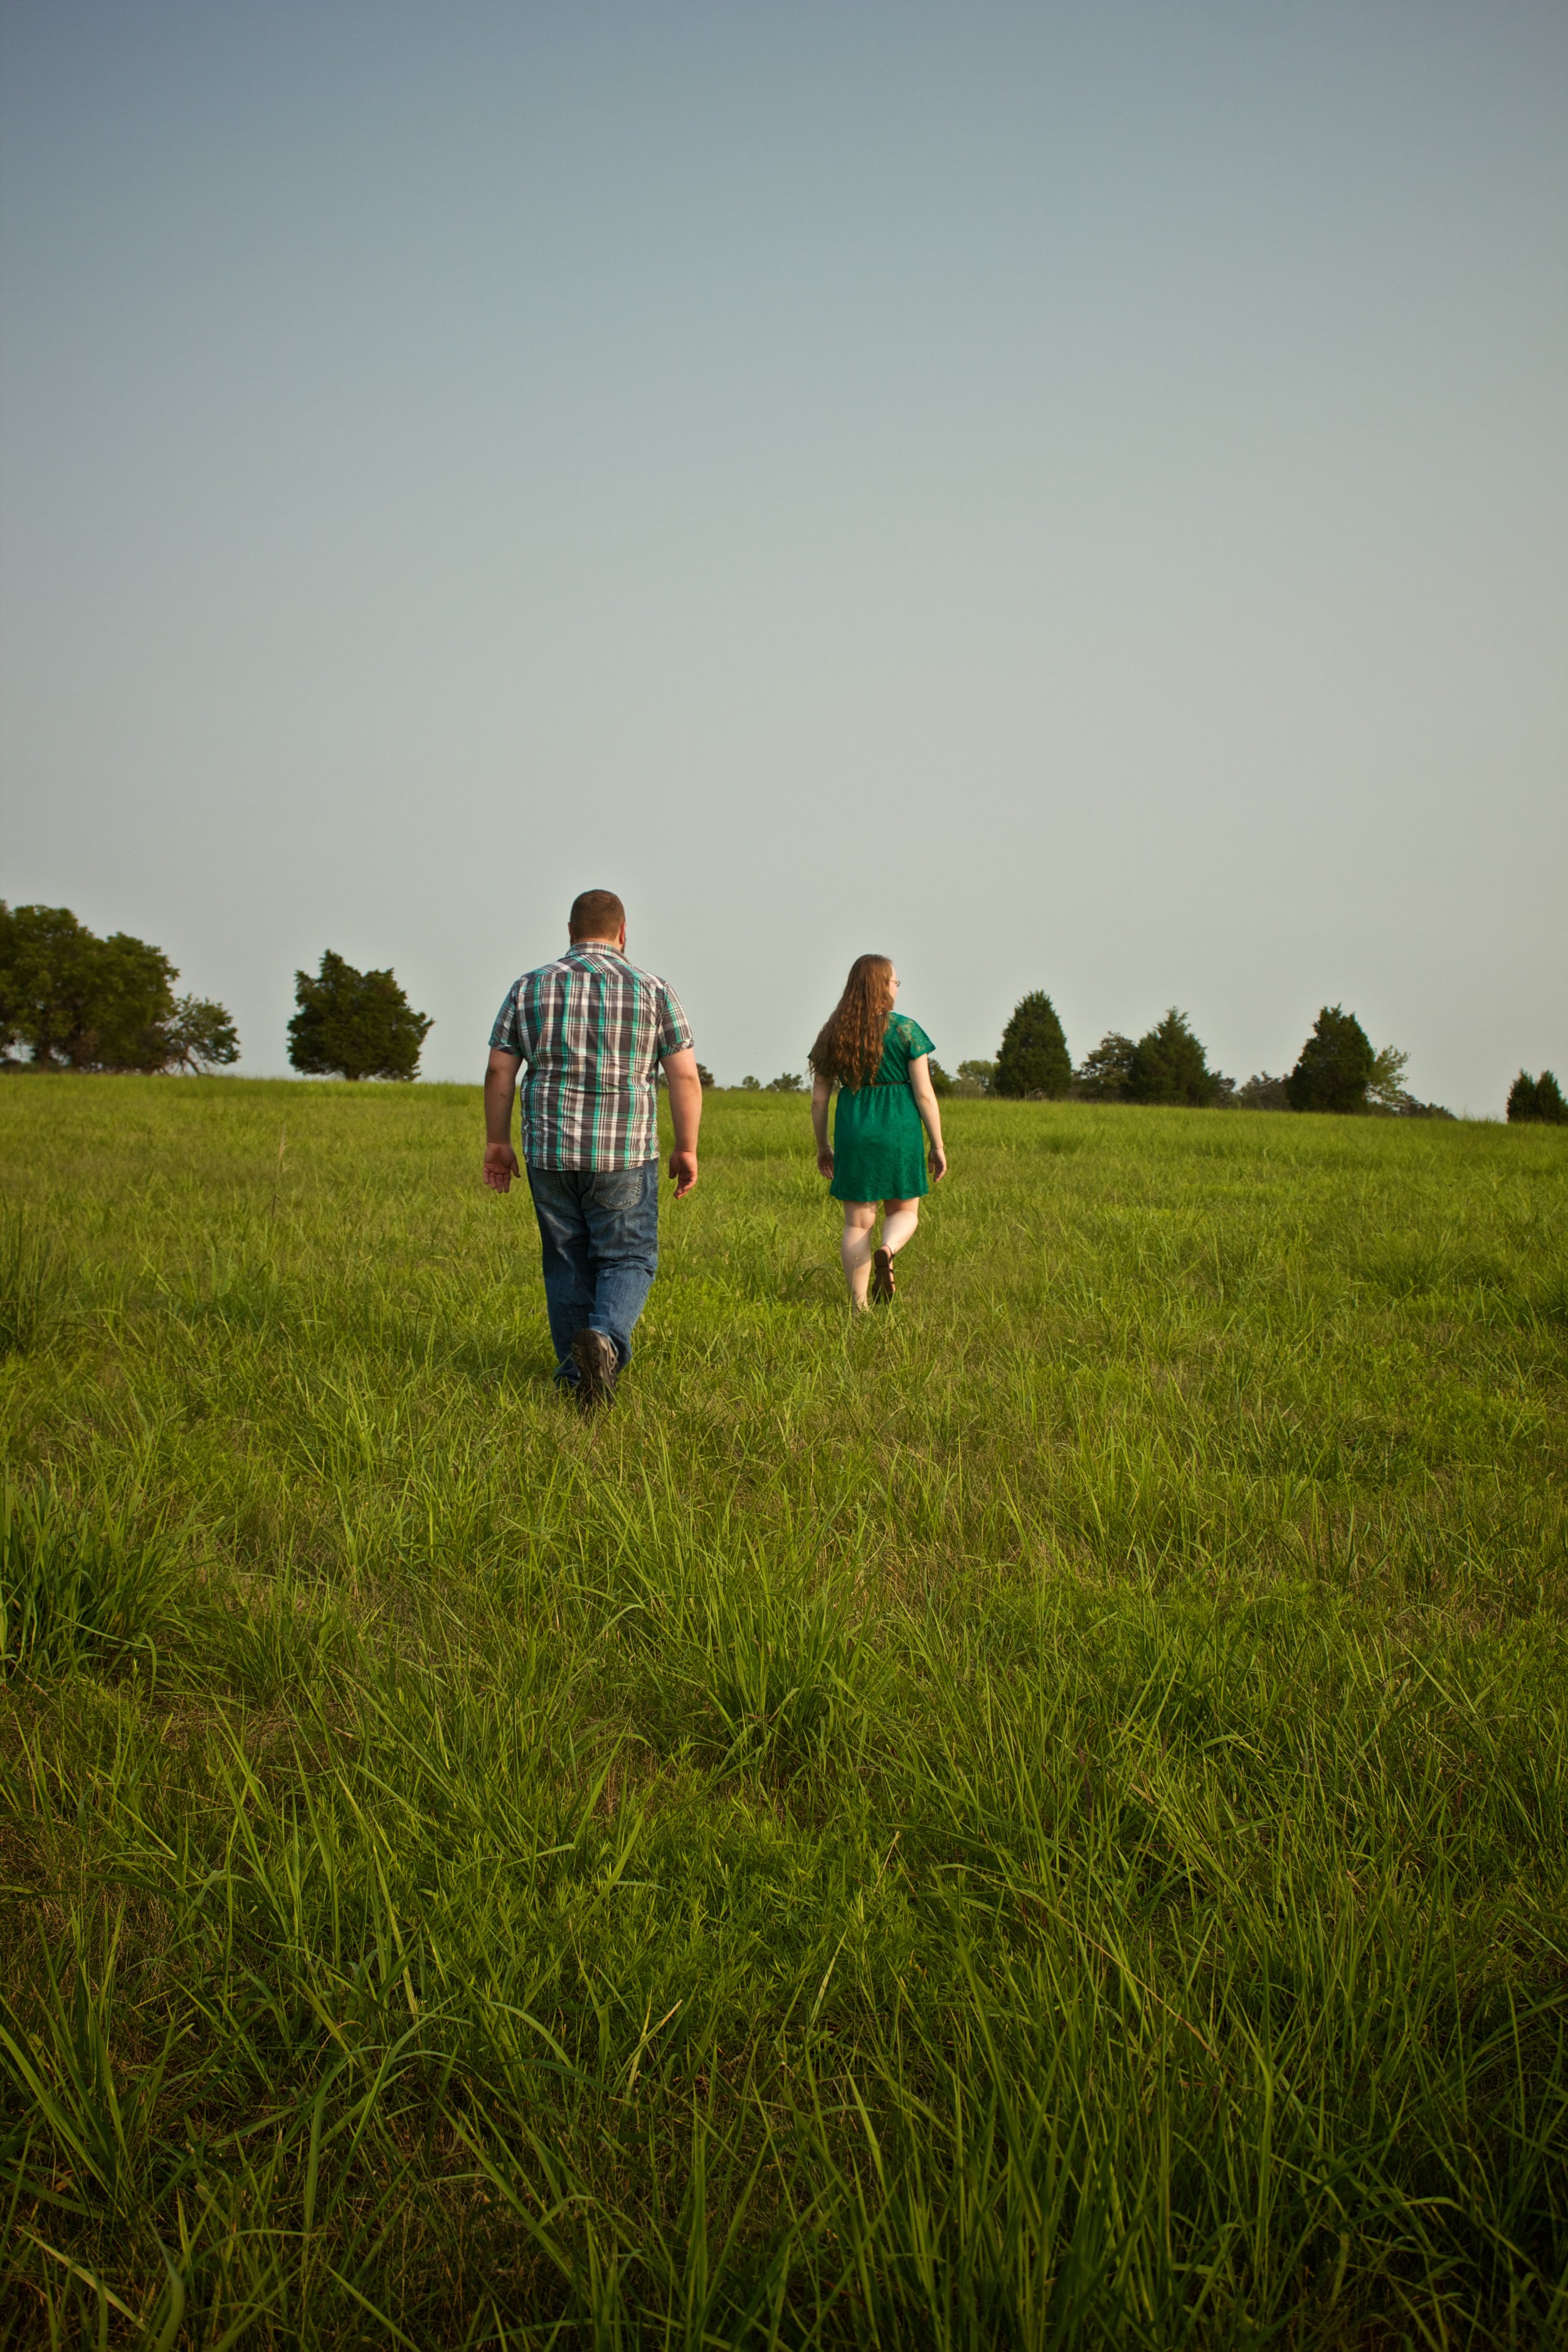
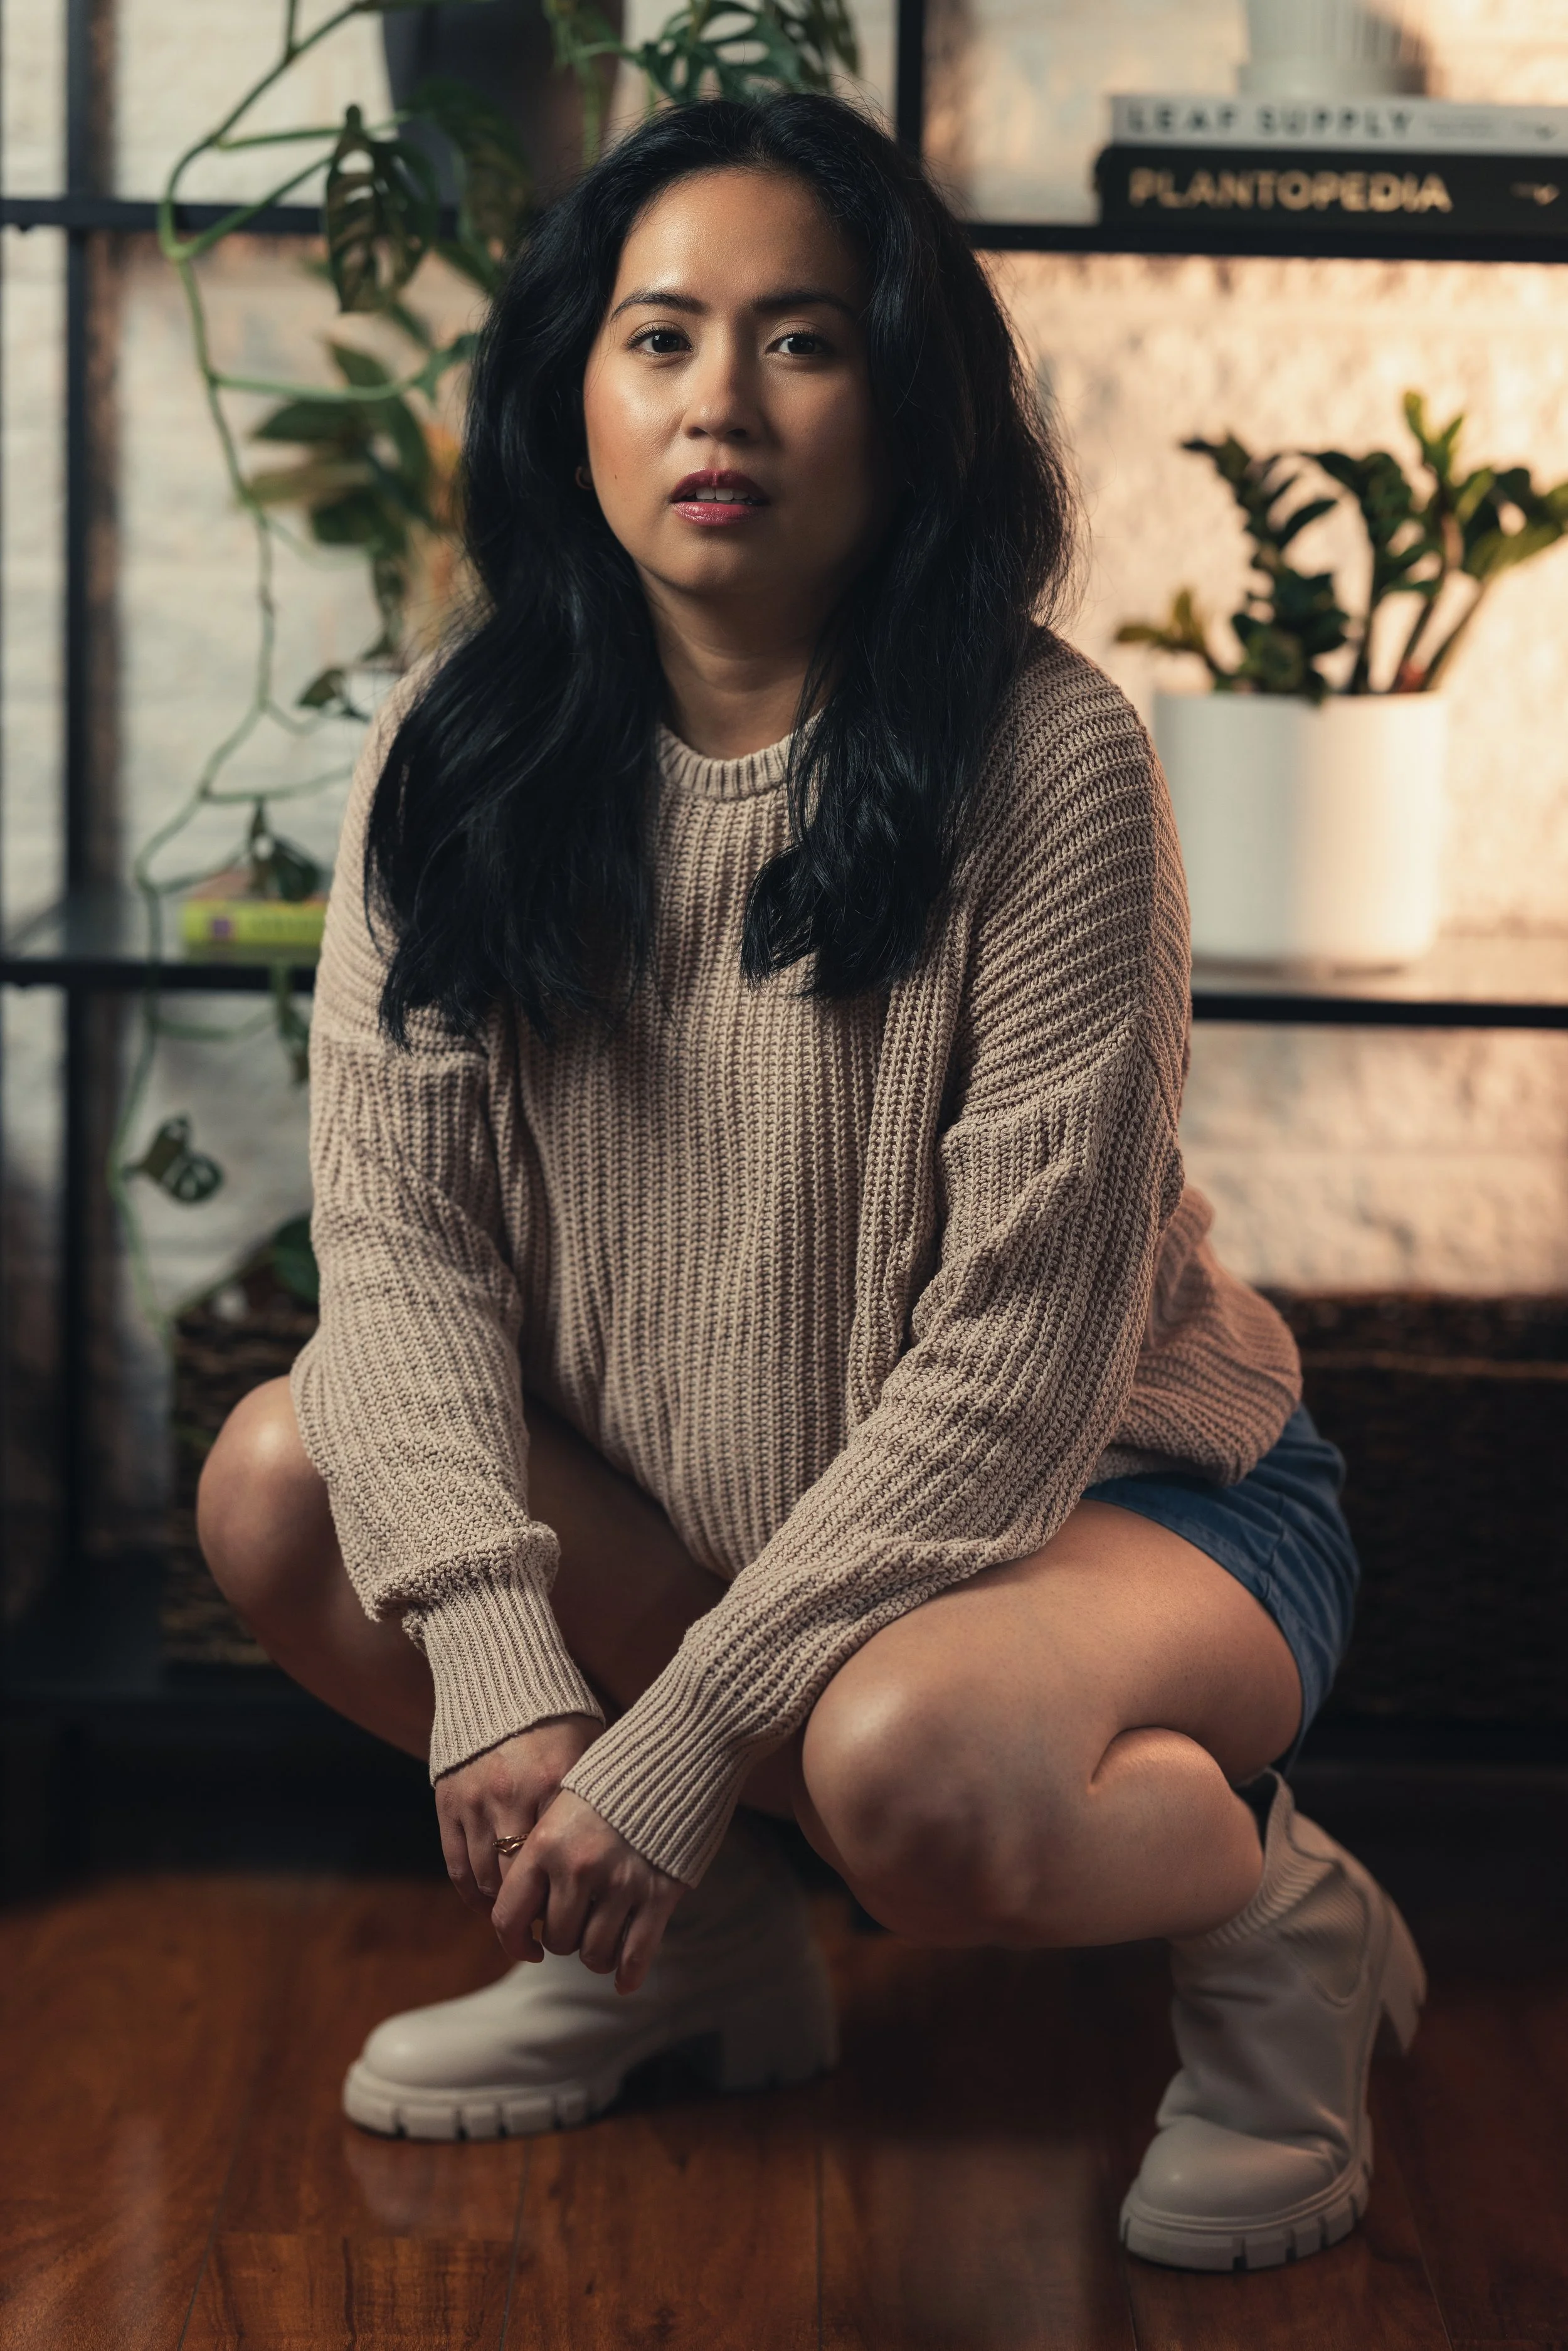
Location plays a significant role with wardrobe. If you’re shooting in an industrial setting, consider high fashion or suits. If the location is a rustic cabin, it calls for rustic fashion! Outdoors near a lake in the spring or summertime? Sun dress or shorts with a vibrant top!
-
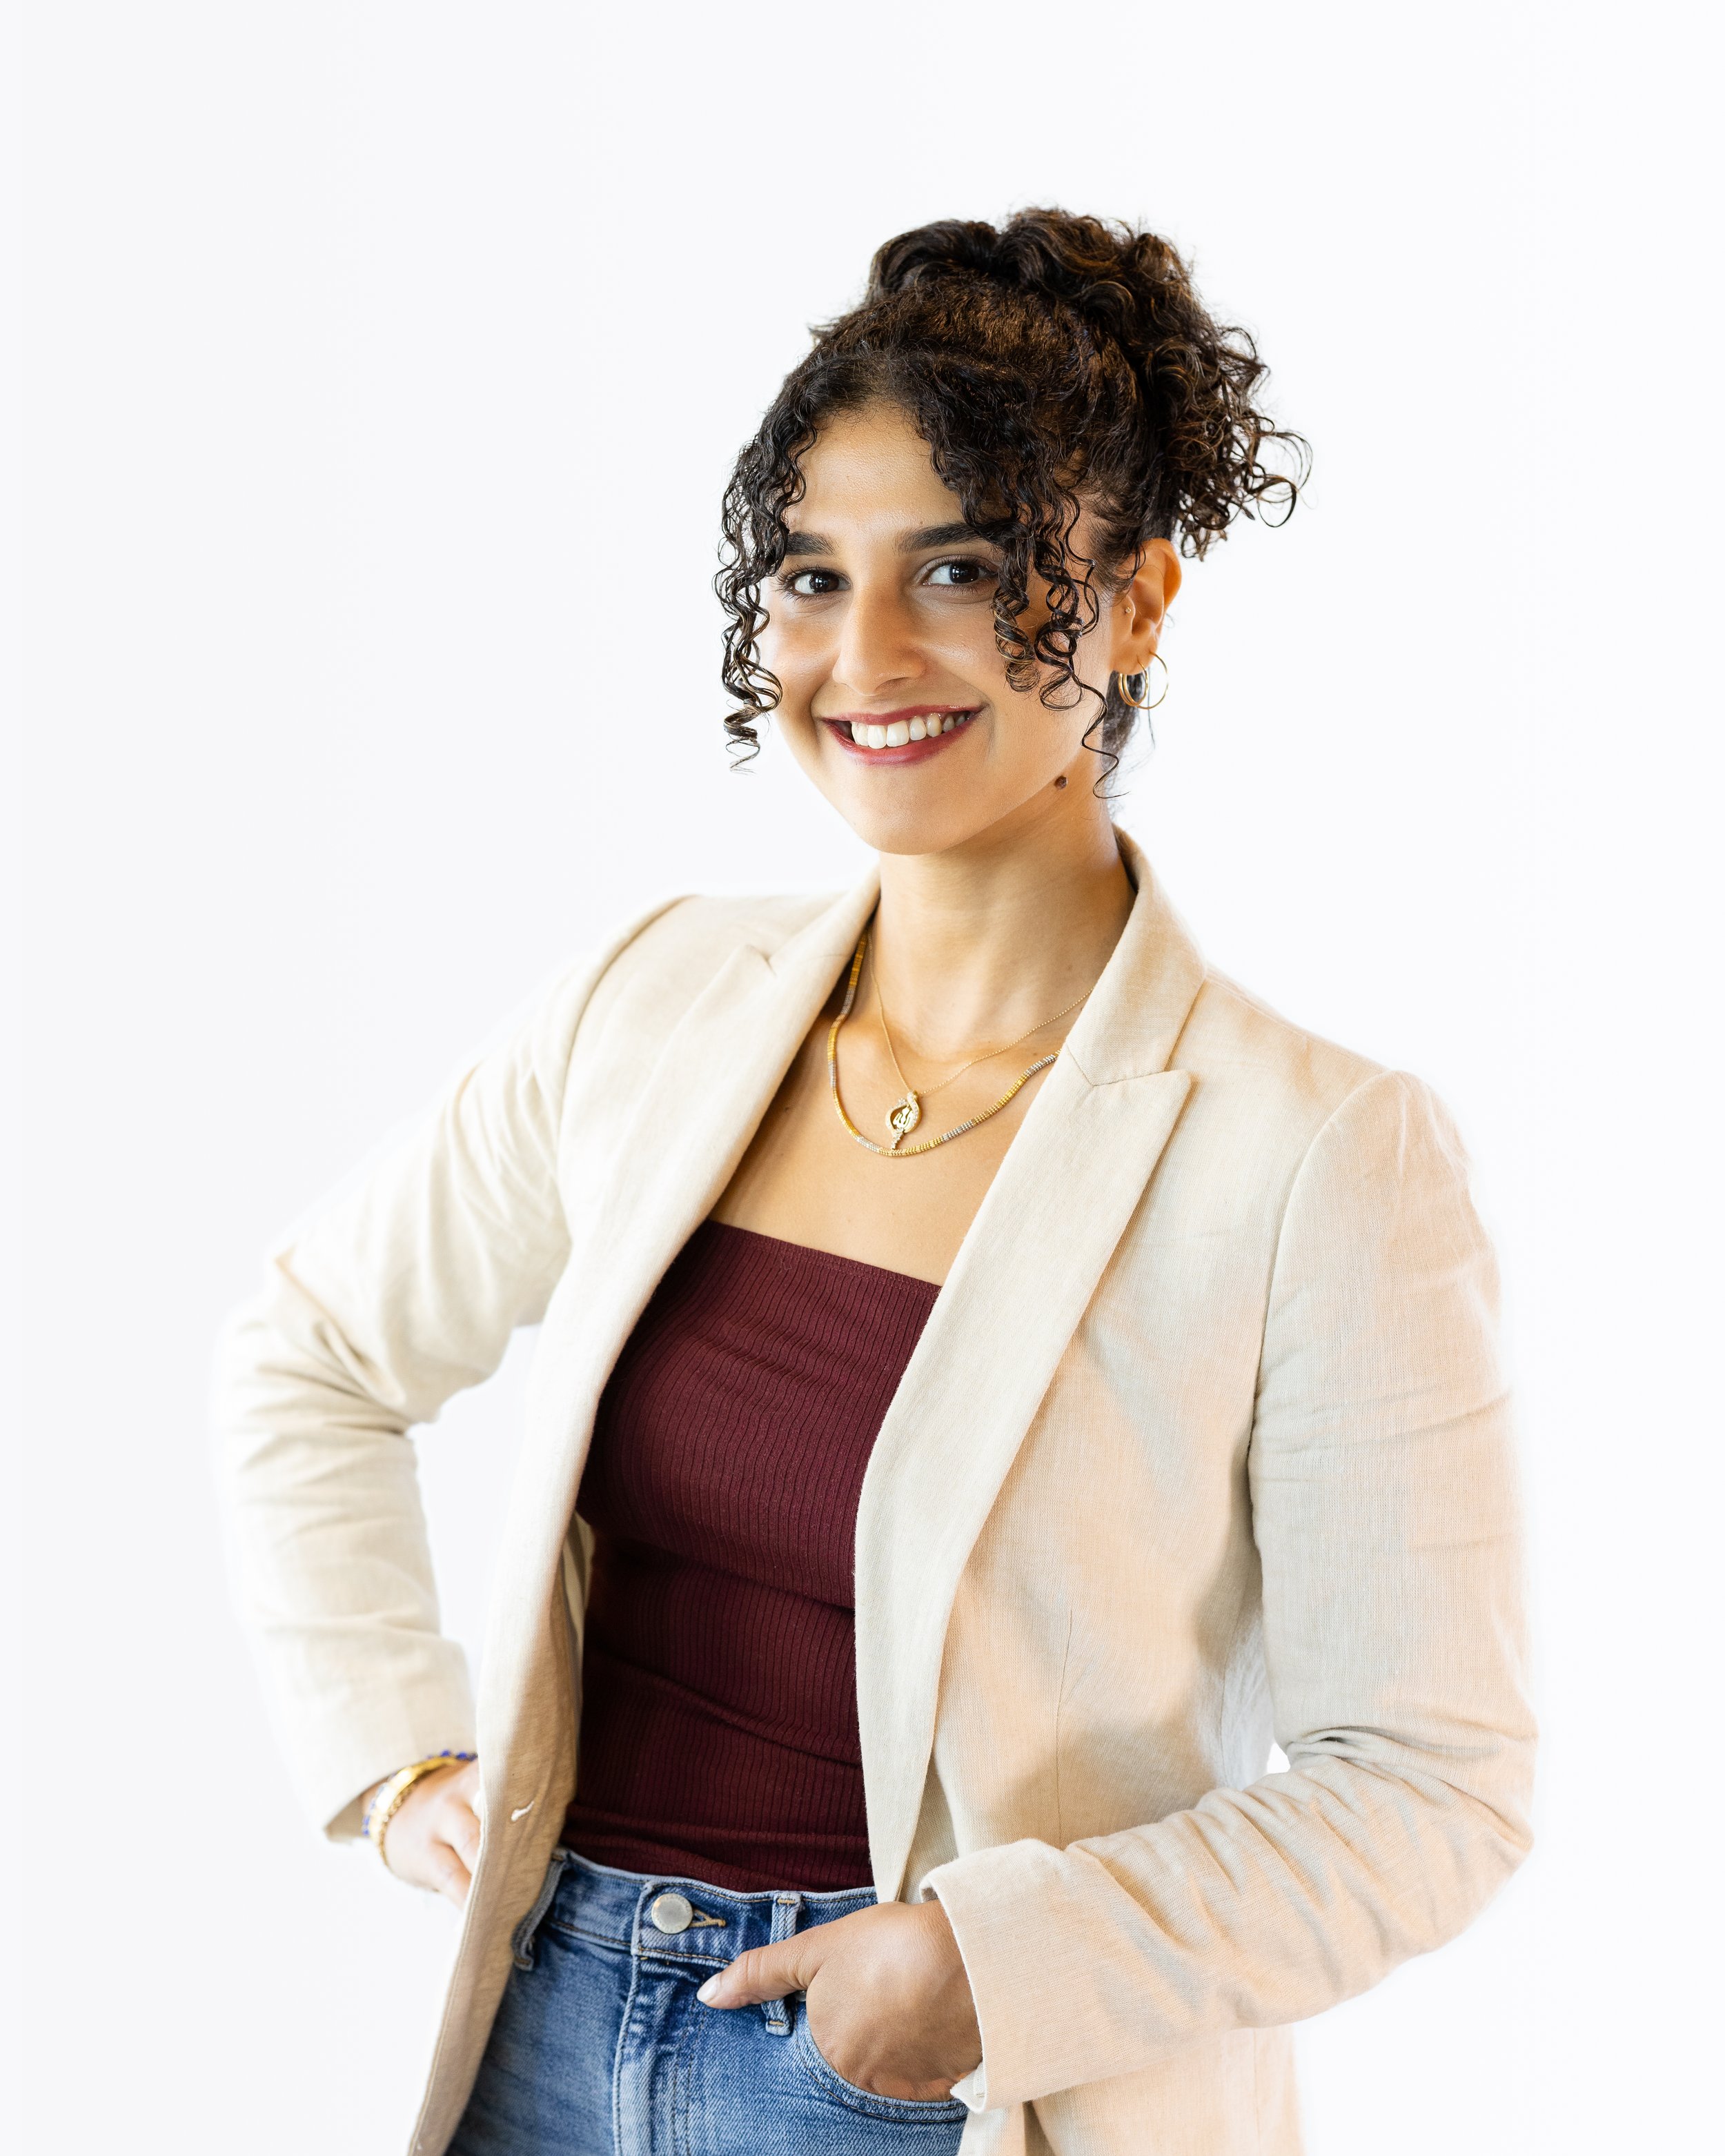
For business related photos, consider maintaining a recognizable look that your coworkers are familiar with, unless you plan on making your new look for the photoshoot THE look going forward.
Keep scrolling down for more tips!
Serve
Natural Looks
Use Natural Light when applying makeup. Artificial Light can result in unflattering or unnatural makeup looks. Natural lighting will enhance what you’re applying rather than overdoing it.
Use bold colors to stand out or “pop” in the photo, even for stylized themes. Bold colors can be dialed back in the edit, but adding “digital” makeup can be time consuming or look too obvious.
Your wardrobe should compliment your makeup but your makeup should have a signature that separates itself from everything else (i.e. a contrasting shade of lipstick).

To Accessorize or Not To Accessorize…


Unwanted accessories can be removed after the photoshoot at no additional cost. However, be mindful that seamless retouching is not guaranteed. Carefully consider what you want to include during the photoshoot!
White Clothing on White Backgrounds
Not impossible to capture effectively, especially if there’s an insistence on wearing white for your photos! However…

White clothing can affect overall contrast in the shot which could result in an image that isn’t as dynamic or make you POP. Consider a dark undershirt if you’re wearing a white coat or use cream colored material instead. Lighting and shadows will be adjusted during the shoot to reduce blending into the background.

Posing Tips
-
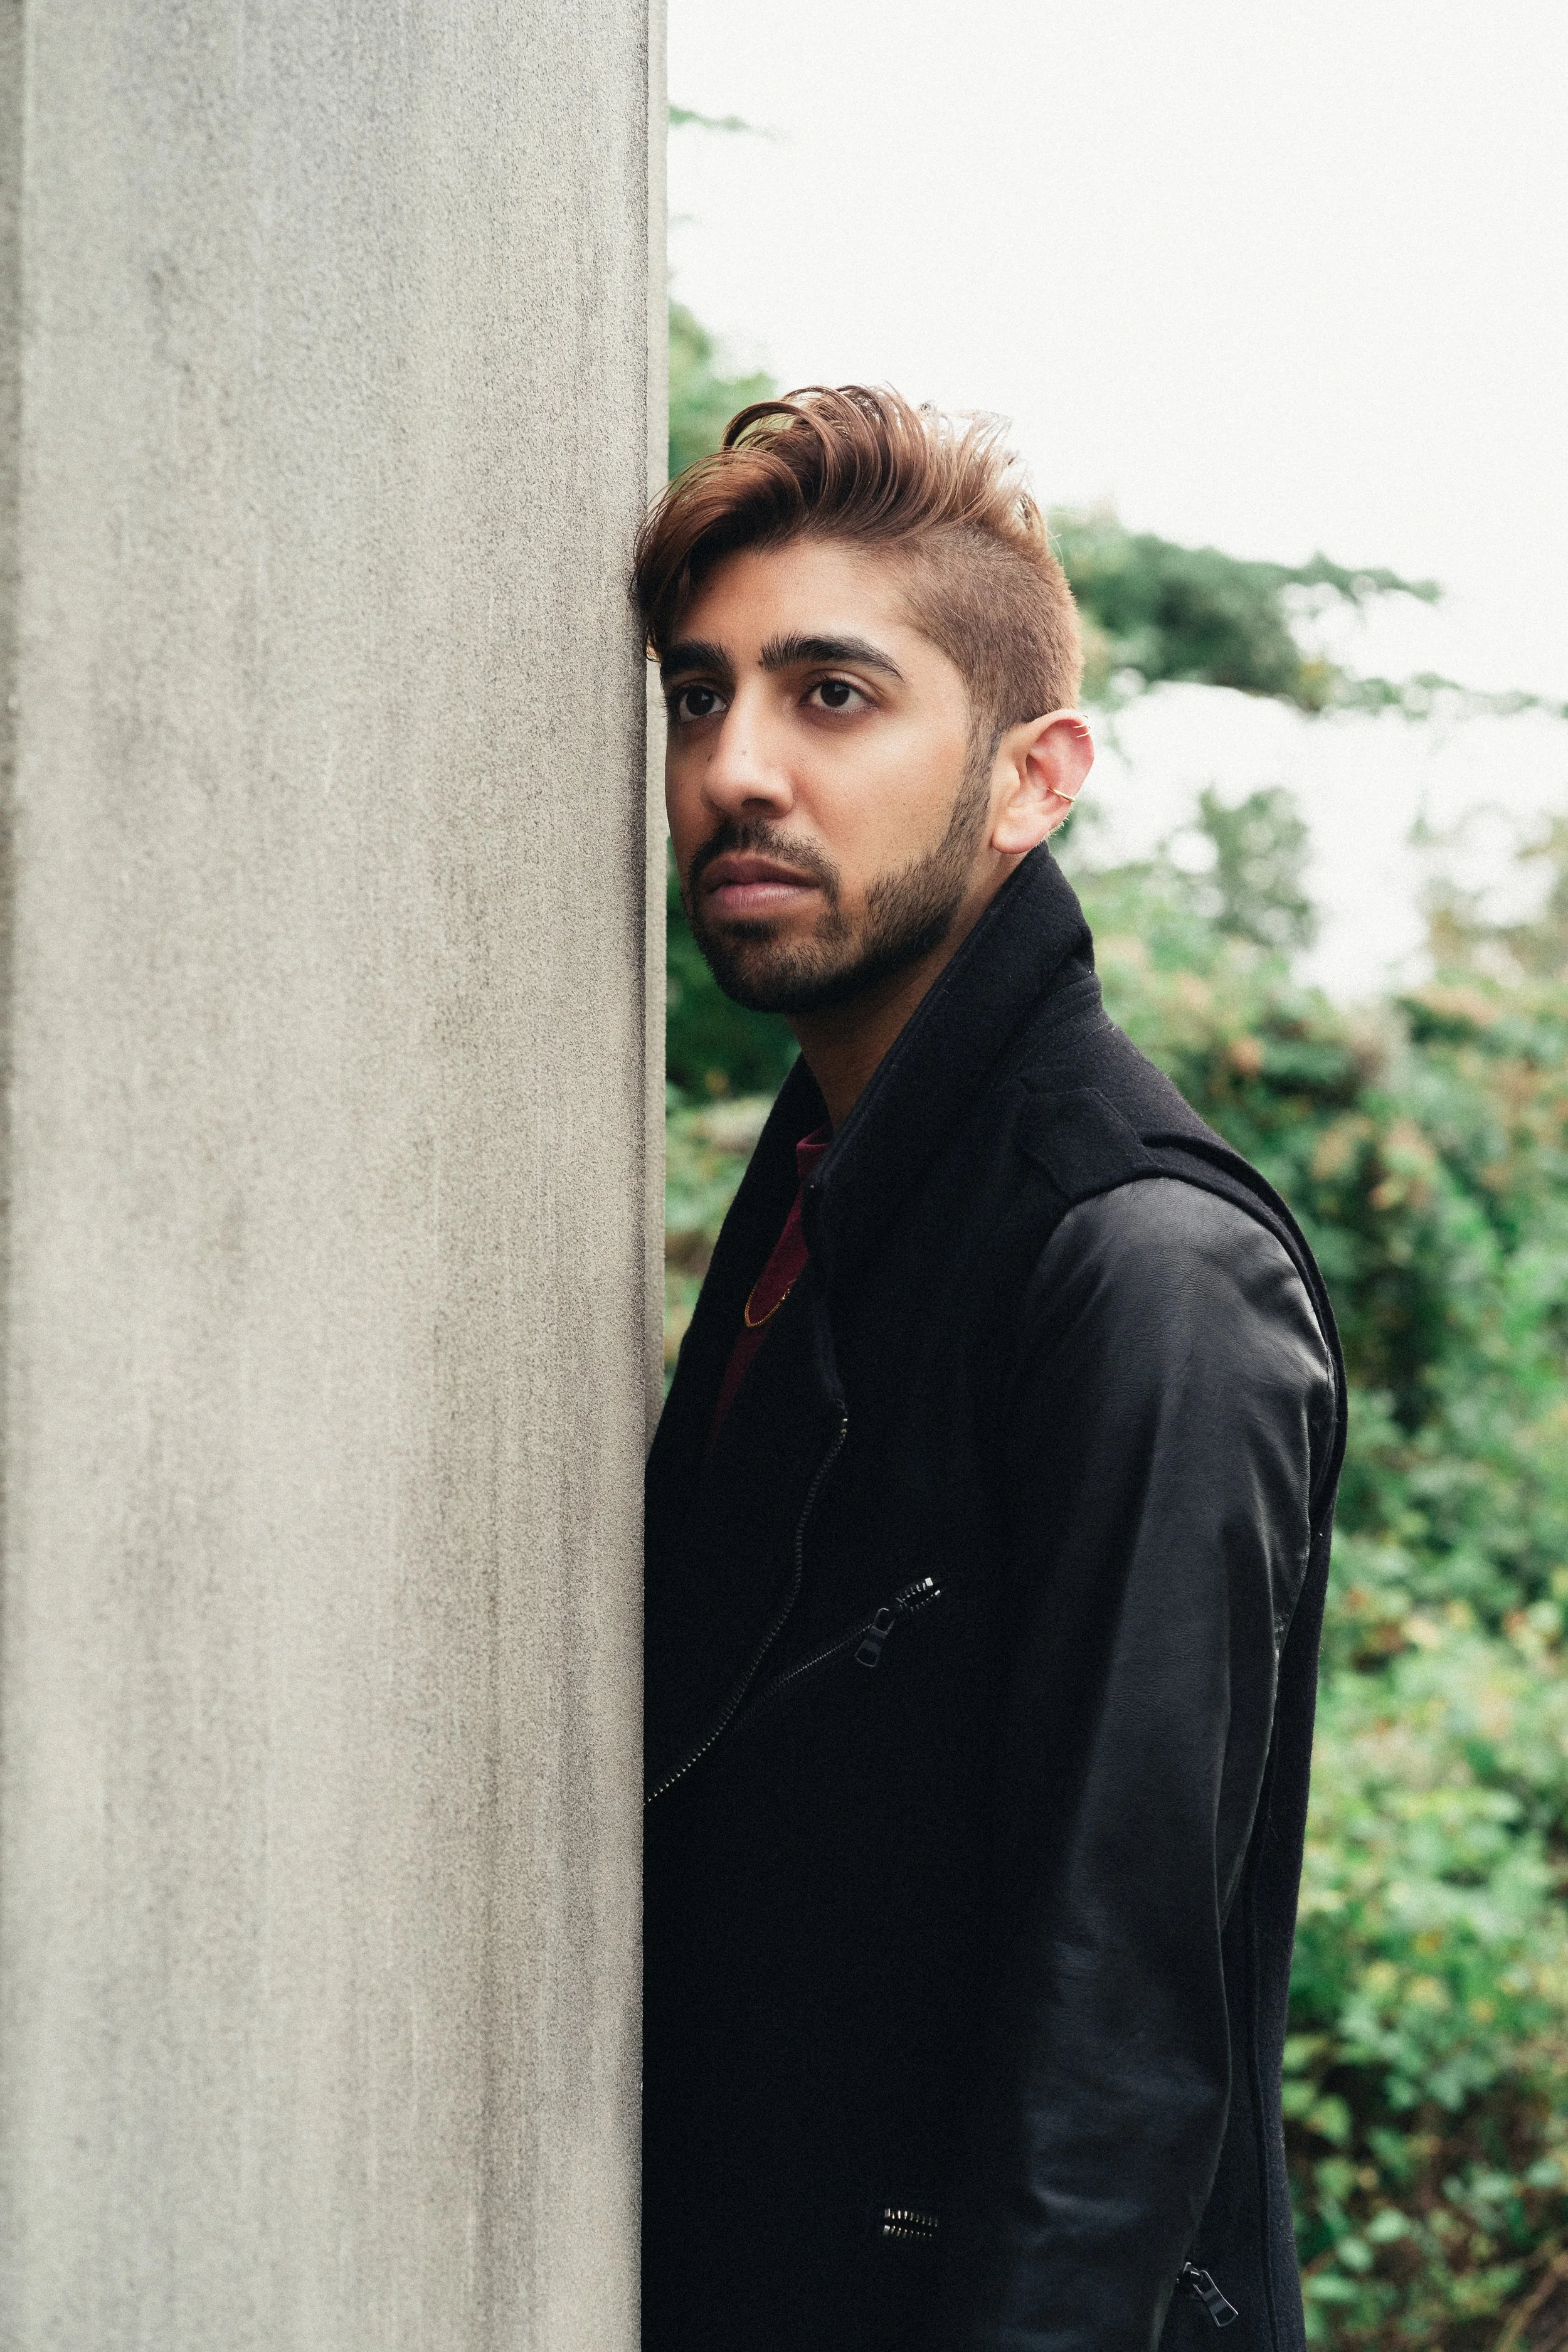
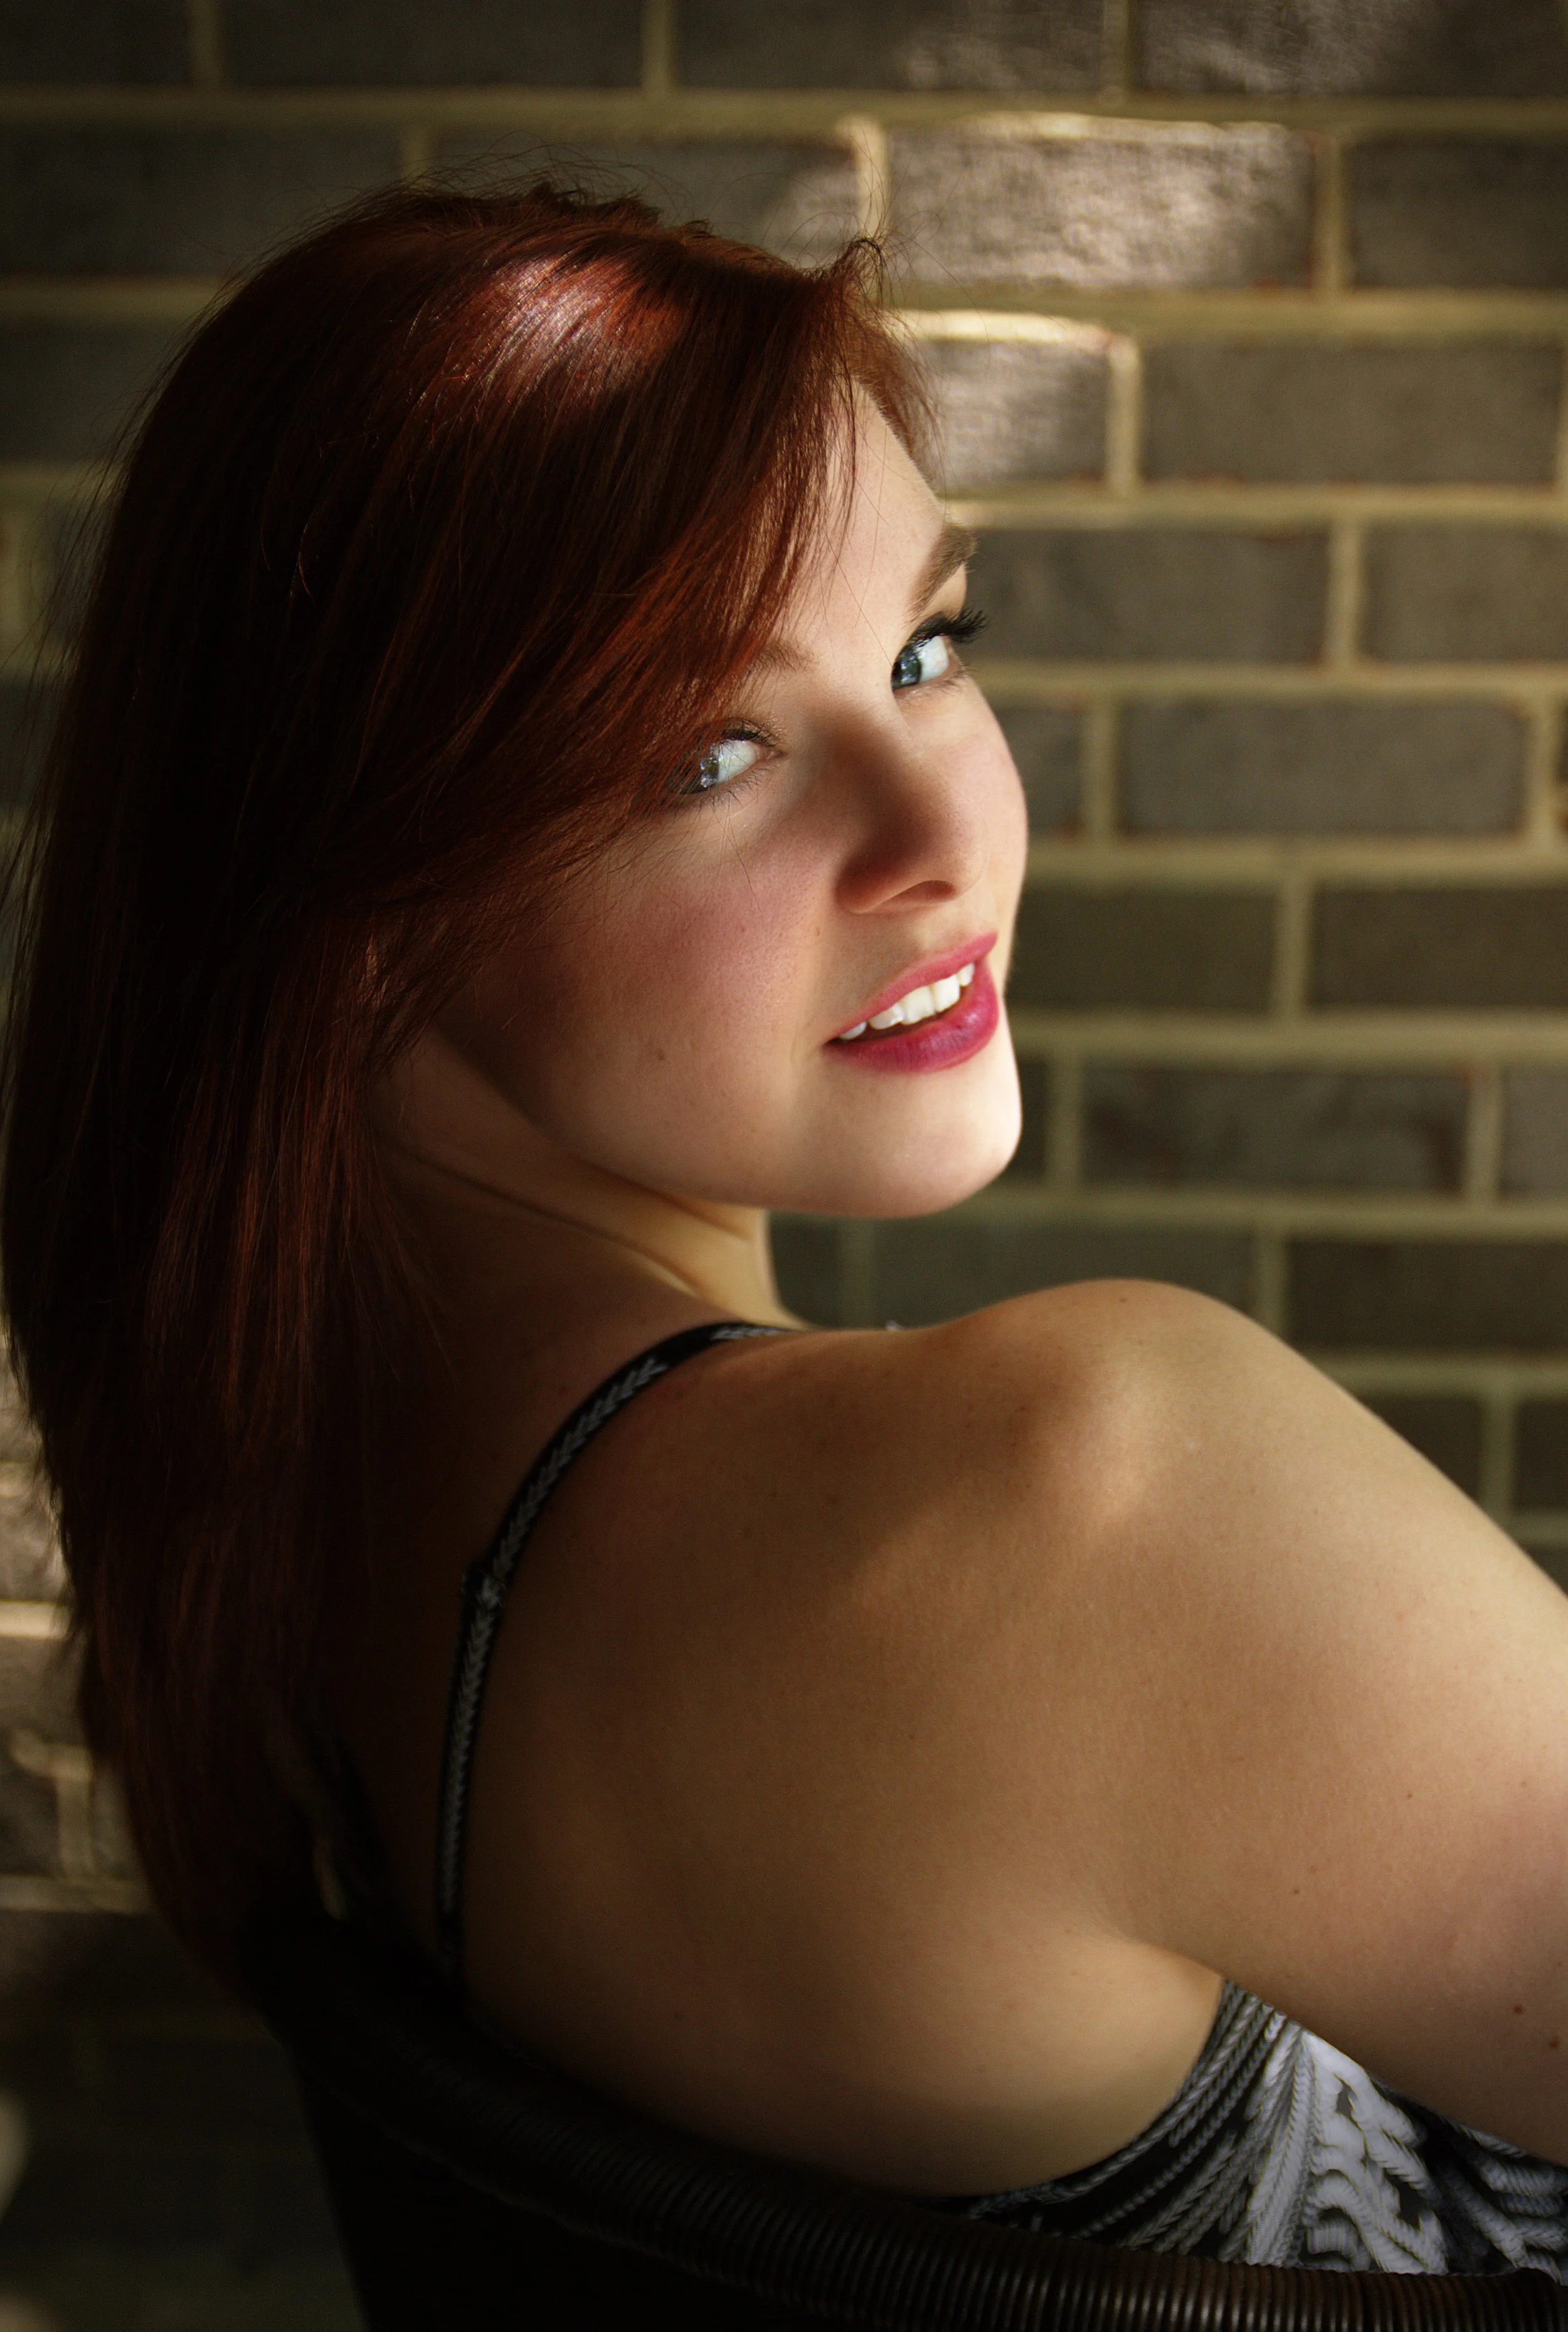
Turning your body to the side, even at a slight angle, is a simple way to shape the shot. Unless there’s a clear artistic reason to face completely forward towards the camera, avoid that at all costs.
-
Deep breaths... You can even laugh at the situation. Let’s face it, having your pictures taken can be awkward, at first. Imagine yourself at 5 years old. Your parent is dragging you to get your picture taken. You really want to get out of there as quickly as possible. So what do you do? You “cheese.” HARD. But then you laugh at how ridiculous that must have looked. The photographer captures that candid moment. The photo comes out better than your parent could have hoped for. Everyone has a little bit of that mischievous side to them. Show yours!
-
Keeping your chin down and maybe even tilting your head slightly to the side can help accentuate the best angles of your face. Always keep your eyes locked to the camera, unless otherwise instructed.
-
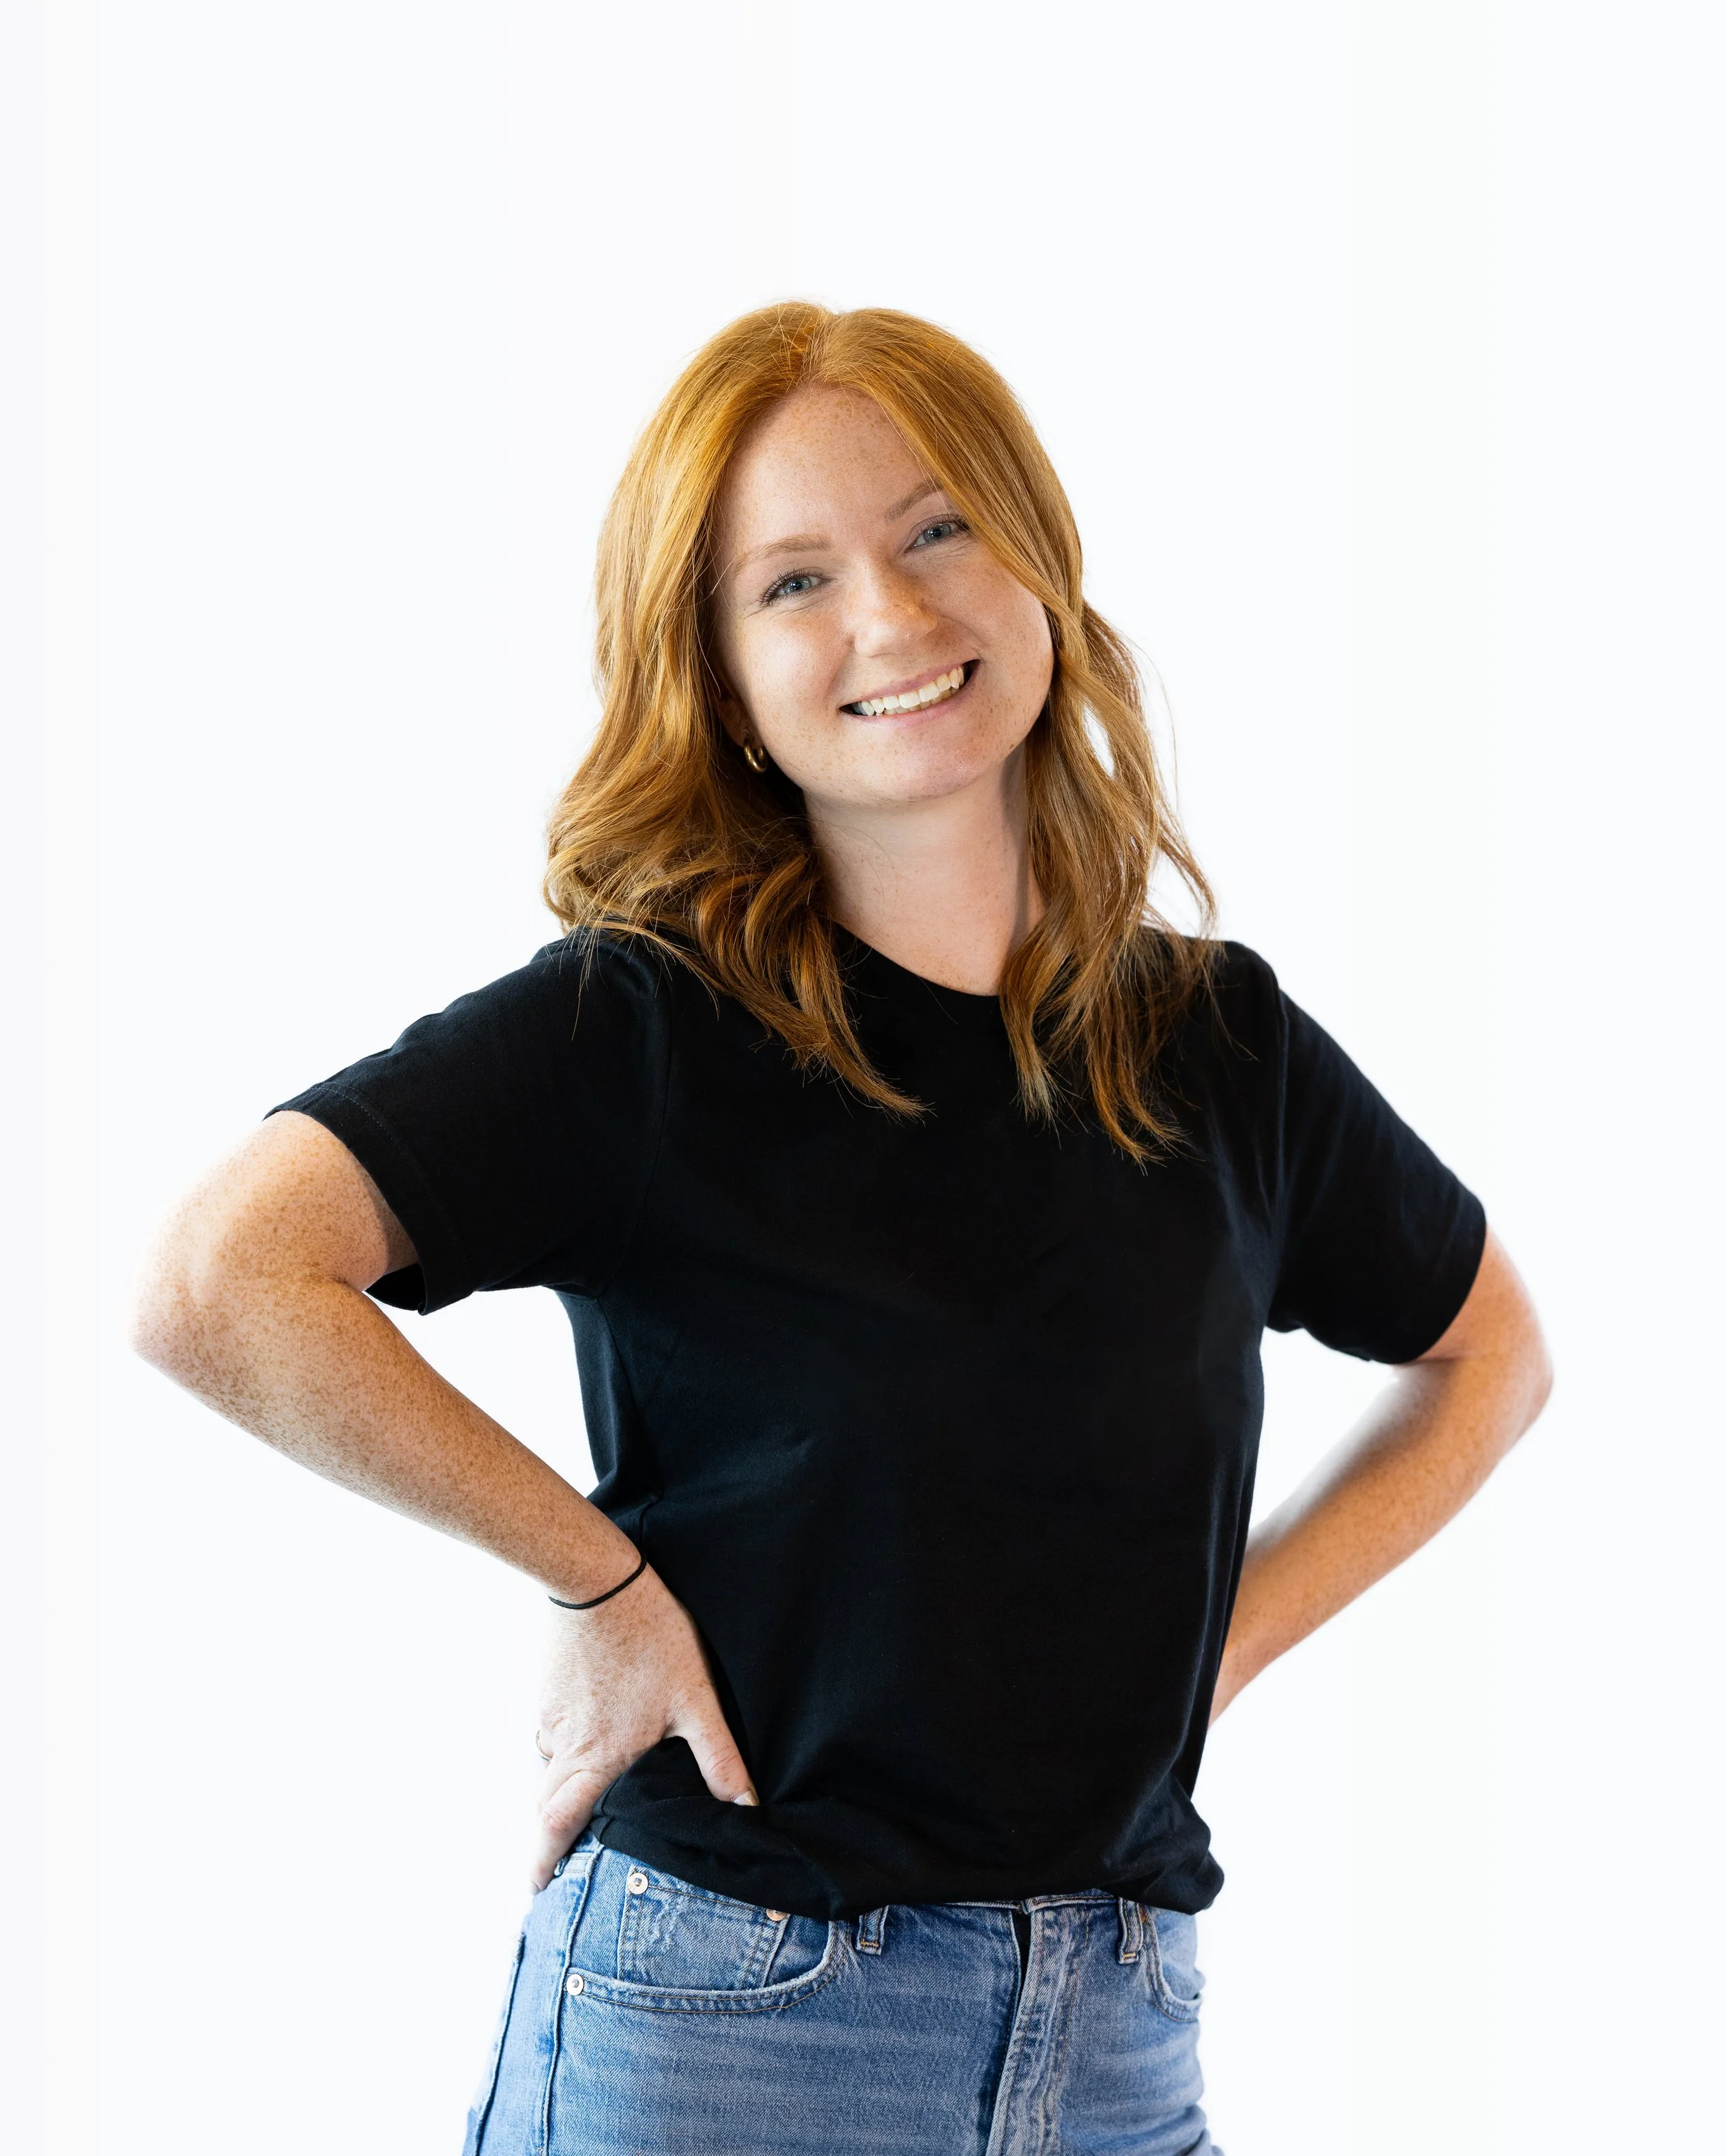
Hands on the hips is a classic pose. Use it! Just avoid standing at a 90 degree angle from the camera with your hands on your hips and bending your knees too far down. Yeah, the duck pose. Let’s not try it!
-
Another classic pose! Just avoid squeezing yourself too hard. Relax and be confident!
-
Part of turning your body is to help move your shoulders away or toward the camera. This adds depth, an interesting pose, and creates an illusion of a smaller waist for everyone! For expecting mothers doing maternity photos, it can also help accentuate that beautiful baby bump!
Trying out any of the tips above can feel awkward in the moment, but I can guarantee that the final result will look fantastic!
We’re in this together. I’ve worked with people who are extremely comfortable in front of the camera and pose away. I’ve met others who need a lot guidance. In those instances, I’ve posed with them to show what I’m trying to achieve. It’s a great icebreaker and it may make you laugh! That just means I can capture a candid moment. If you have any other questions before the shoot, get in touch!